Rampage Rally – Behind the Render
When I joined the Rampage Rally 3D community challenge, I knew it was going to be a sprint rather than a marathon. With just two weeks to design, model, light, and render a full scene, it became one of the most intense and rewarding, creative pushes I’ve done so far.
Concept and Idea
The challenge theme revolved around chaos and energy, so I decided to create a cinematic chase sequence featuring a superbike pursued by police through a rain-soaked British city.
My goal was to capture that high-speed adrenaline moment — headlights reflecting off wet tarmac, a dark, cinematic atmosphere, and a sense of motion that sold the story.
Orginal Mood board
Blocking the Scene
Starting from the provided base template, I blocked in the environment to match the perspective of the original reference image.
The bridge structure became the centerpiece — I redesigned it as a British-style drawbridge, adding bolts, barriers, and weathering to make it feel lived-in.
The police van and superbike were positioned early, and I locked down camera angles quickly to keep composition consistent throughout production.
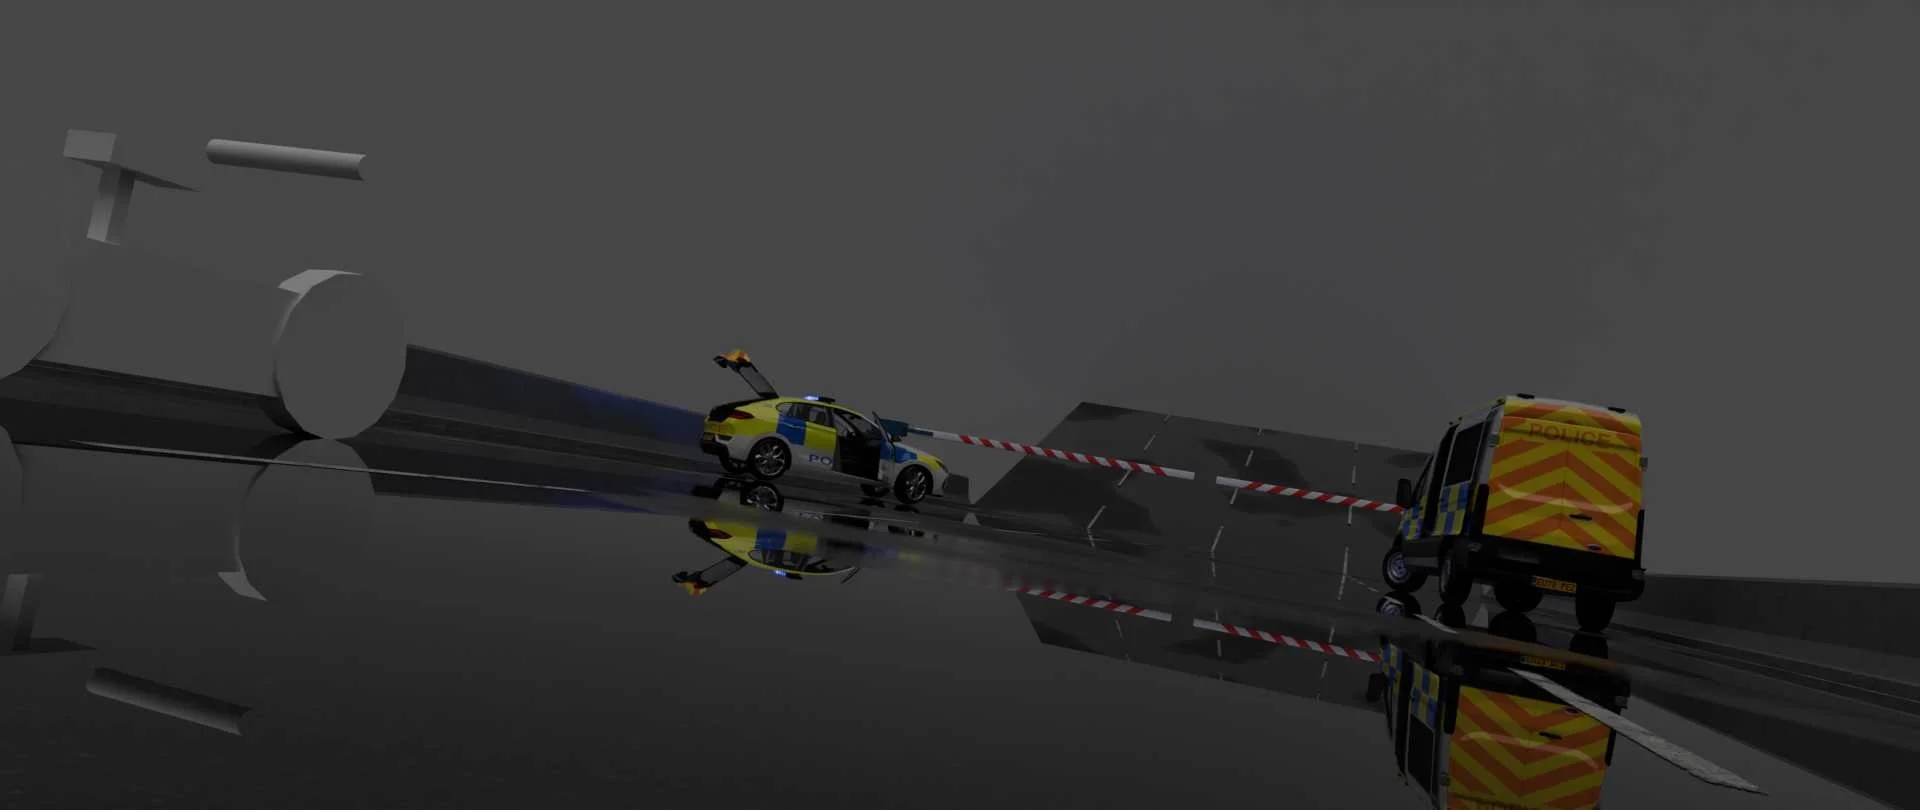
early layout with vehicle placement
Modeling and Texturing
Since time was tight, I balanced realism and efficiency. The bike and police van combined kitbash elements with custom textures to keep poly counts low but detail high.
The wet look came entirely from the road material — no rain or smoke simulations made it in before the deadline. Instead, the surface relied on layered roughness maps to create natural puddles and reflections, which gave the impression of rain without simulating it.
Early render with Models
Lighting and Atmosphere
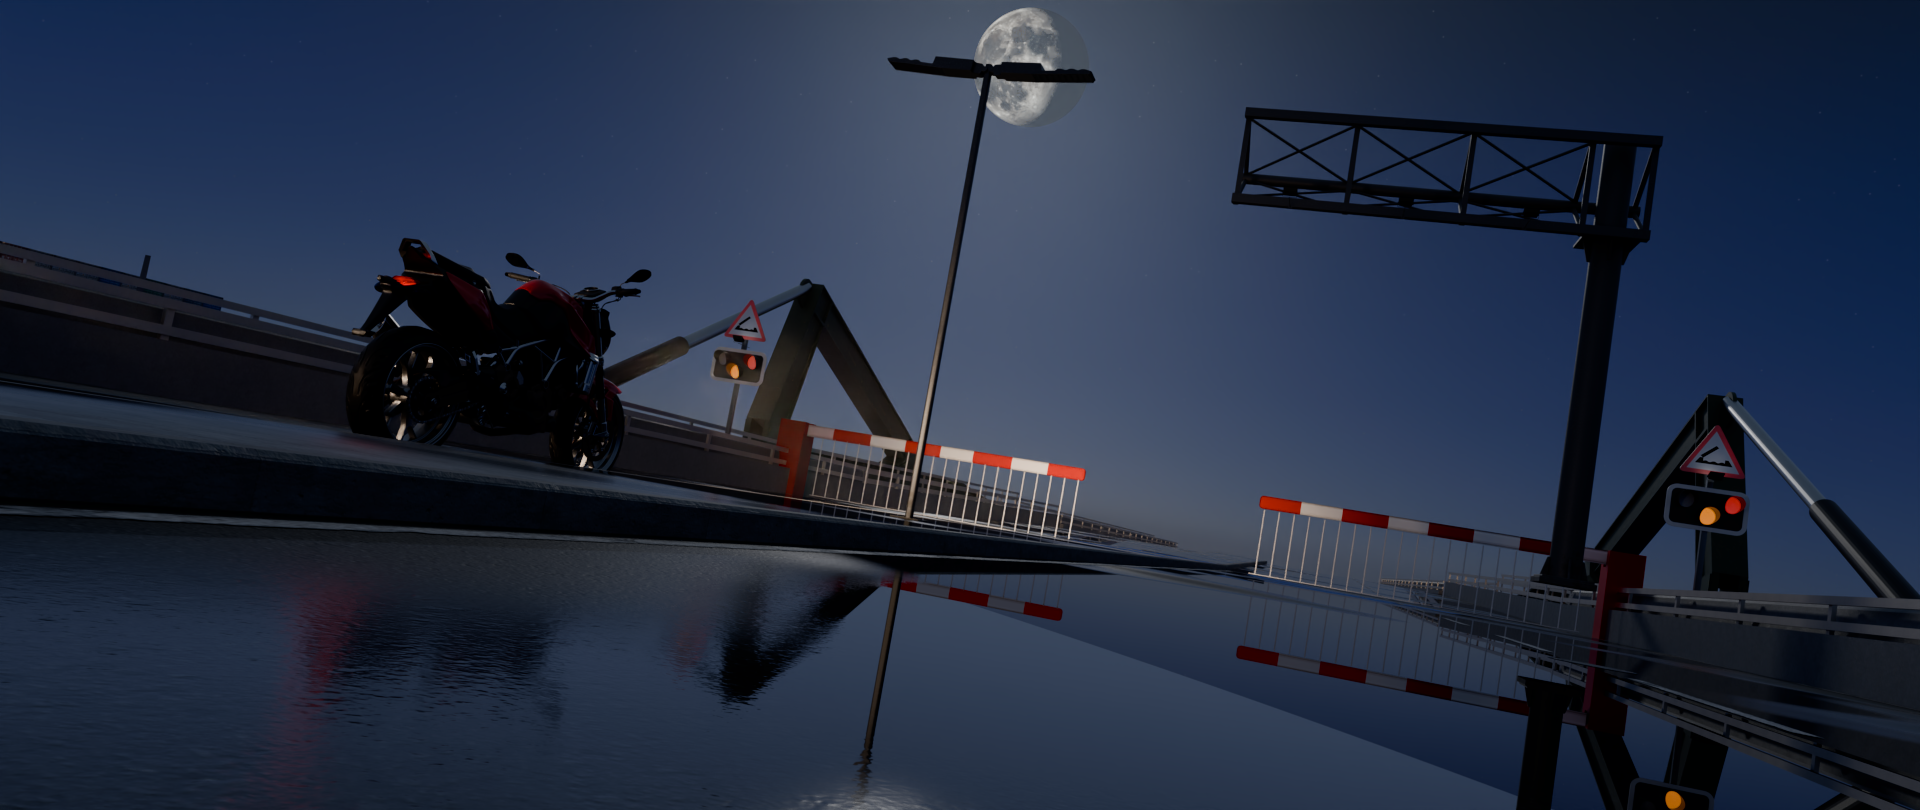
The lighting setup was key to creating the mood. I used a combination of volumetric fog, streetlights, and a realistic moon asset from a sky add-on.
That full 3D moon gave the scene a stunning look but also caused major rendering issues — it dramatically increased noise and sample times, which became a huge challenge near the end.
Early Sky Tests
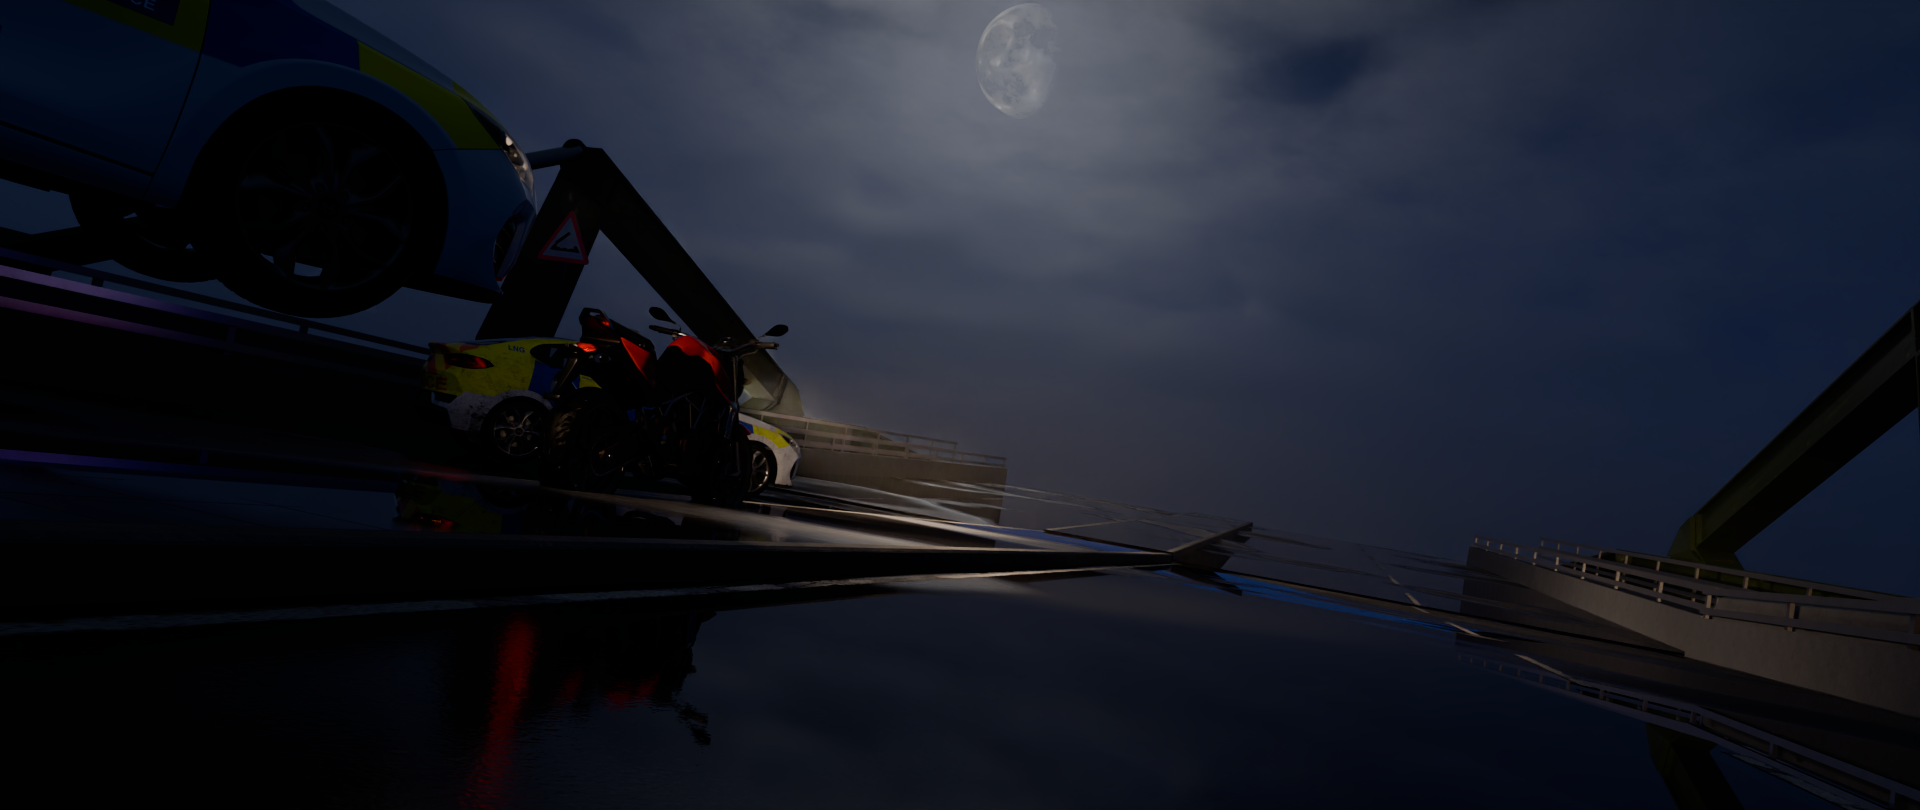
Rendering Challenges
This was where things really got tough.
Because the scene needed high sample counts to eliminate noise, and I wasn’t using a render farm, I had to render everything locally — often running the PC for days straight.
Certain areas of the scene couldn’t be transported due to file size and pathing issues, so I ended up re-rendering and patching sections manually. I didn’t use cryptomattes this time — instead, I relied on re-renders and compositing fixes to repair visual glitches, lighting inconsistencies, and artefacts.
It was a stressful process, especially running so close to the deadline, but also a huge learning curve in managing complex renders on limited hardware.

Rendered frame (Raw)
Compositing and Final Render
Once I had usable frames, I moved everything into After Effects for compositing.
This stage became more about problem-solving than polish — stitching together patched renders, balancing exposure, and pulling colour grades to tie everything into a consistent look.
Despite the compromises, the final image held up well. The wet reflections, moody lighting, and composition achieved the tone I originally wanted, even if some effects like rain and smoke didn’t make it in.
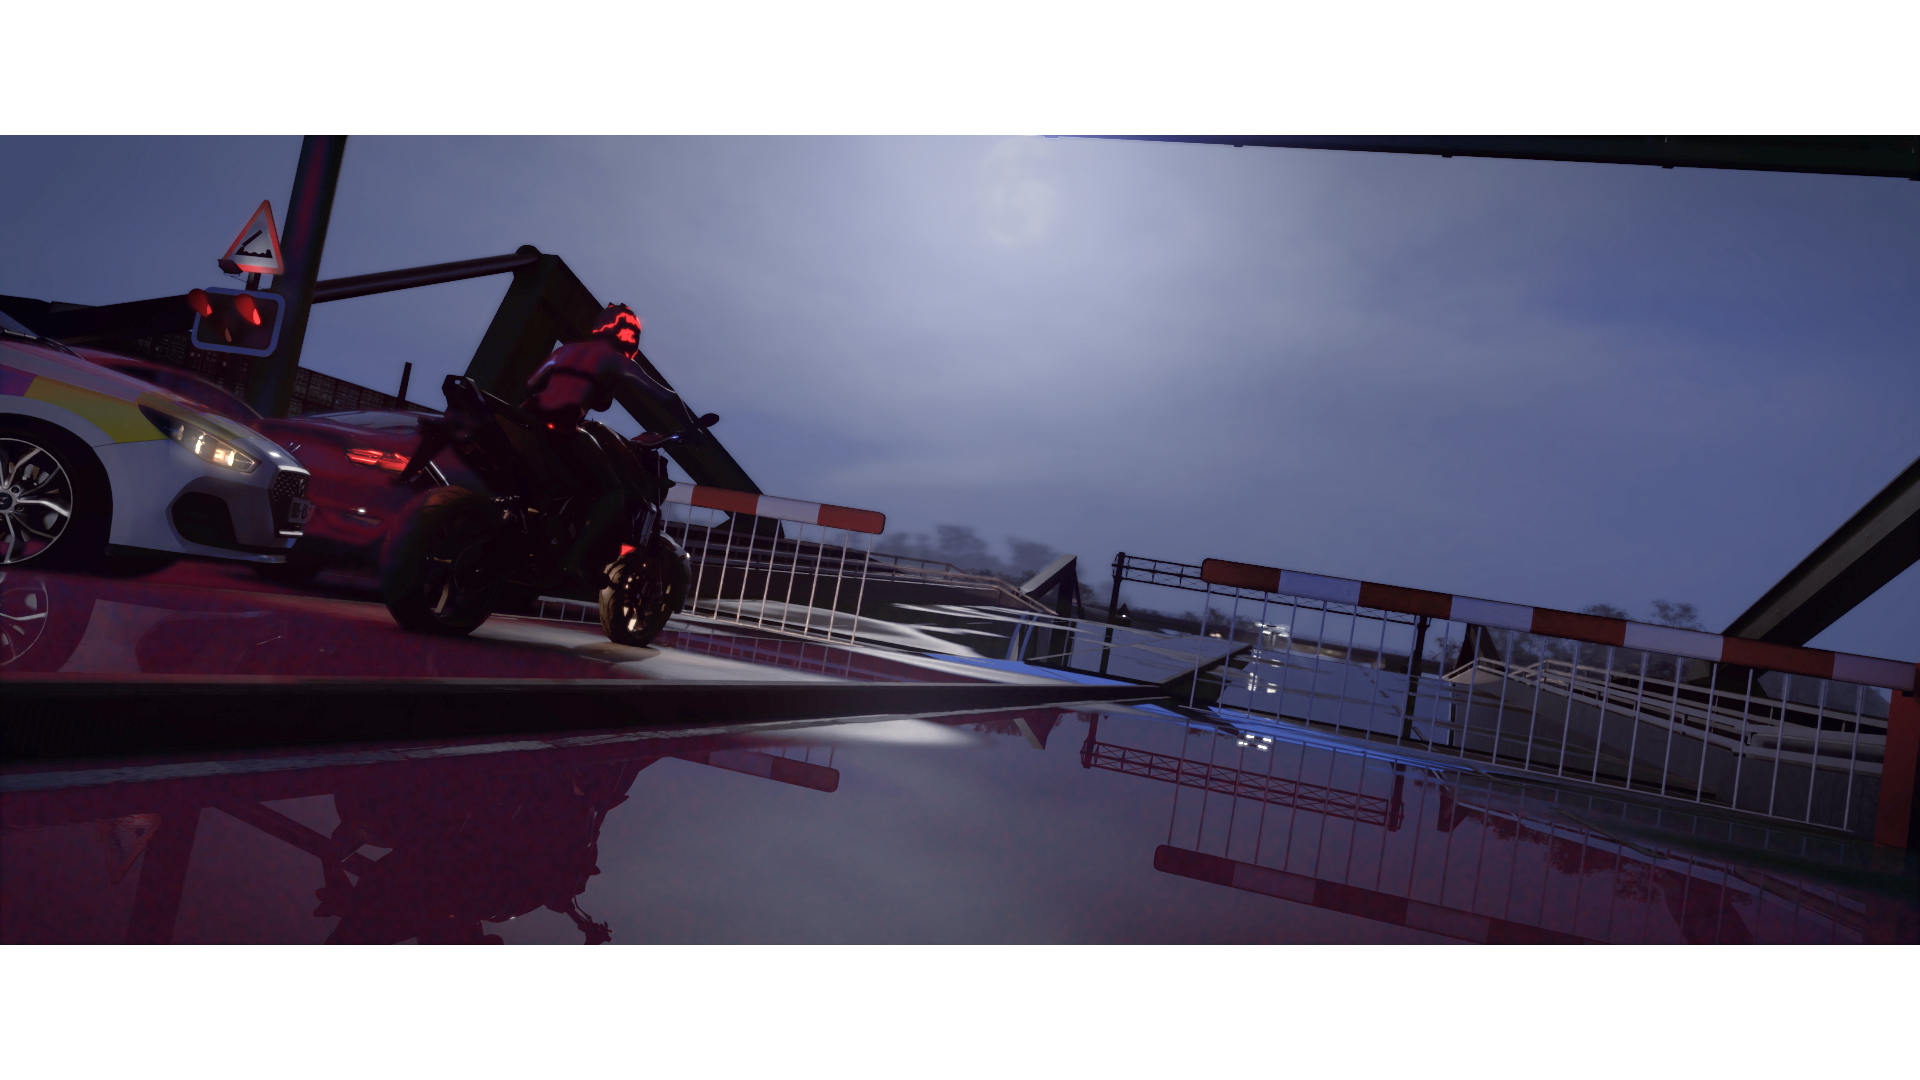
Final composited image
What I Learned
Even though the entry didn’t make the top 100, this project taught me a lot about real-world production limitations and creative problem-solving:
Plan for rendering early — heavy sky systems and volumetrics can double render time overnight.
Good materials can fake realism — puddles and surface texture sold the “rain” better than simulations ever could.
Always budget time for compositing fixes — patching re-renders saved the project.
Deadlines create discipline — you learn to make quick decisions and move forward, even when things aren’t perfect.
Looking Ahead
The Rampage Rally project was one of those “sink or swim” moments that pushed my technical limits but left me with a stronger workflow.
It reminded me that every challenge, even one that doesn’t make the leaderboard, still sharpens your craft.
I’ll definitely carry these lessons into future Pez Productions projects — from cinematic ads to full animation sequences.